Home Assistant: Migrating from ZHA to Zigbee2MQTT
Posted on November 16, 2025 • 4 minutes • 820 words • Other languages: Français
I started home automation with Home Assistant (HA) over a year ago and, since it’s both fascinating and extremely useful, I keep improving my setup whenever I have time and motivation. After moving from an apartment to a house, my automation needs changed. I chose the Zigbee protocol for most of my sensors. Under Home Assistant, there are two solutions to use the Zigbee communication protocol:
In September 2024, I bought a Zigbee dongle from SONOFF : the ZBDongle-E (note the E). It’s also a module recommended in Home Assistant’s documentation and works perfectly out of the box.
My various sensors and lights worked for more than a year with this Zigbee dongle, paired with ZHA. ZHA is a native Home Assistant integration for communications using the Zigbee protocol:
Why did I migrate from ZHA to Zigbee2MQTT?
As I mentioned, my needs evolved, and I wanted to push my home automation setup further. ZHA served me extremely well (it did the job!), but I was starting to reach some of its limitations—mainly regarding sensor choices and advanced settings.
Having experimented with both solutions, here are the pros and cons of each integration from my personal point of view.
Zigbee Home Automation (ZHA)
Pros 👍
- Native integration in Home Assistant core
- One-click installation
- No additional dependencies
- Perfectly integrated into HA’s interface and navigation
- Plug-and-play with the Sonoff ZBDongle-E
- Official documentation directly on the Home Assistant website
Cons 👎
- Some sensor entities remain inaccessible
- Certain sensors cannot be updated
- Limited or no compatibility with some brands
Zigbee2MQTT
Pros 👍
- Very wide compatibility: works with all Zigbee sensors
- Full access to all available sensor options
- Centralized interface for managing the entire Zigbee network
- Easier updates for some brands and devices
- Better stability for certain sensors
- Clear and detailed documentation on the Zigbee2MQTT website
- Detailed logs and lots of information in a dedicated interface
- MQTT broker means more possibilities
Cons 👎
- Requires a Sonoff ZBDongle-P or flashing the ZBDongle-E
- Additional dependency: an MQTT broker (Mosquitto)
- Slightly more technical installation, though still simple in HA
How did I migrate from ZHA to Zigbee2MQTT?
The main drawback during this migration was dongle compatibility. At the time, I didn’t know enough when buying it, and with hindsight, I would buy a ZBDongle-P instead. However, it is possible to flash the firmware to use the E model with Zigbee2MQTT! That’s exactly what I did, and my dongle has been working perfectly for several months—no need to buy another one!
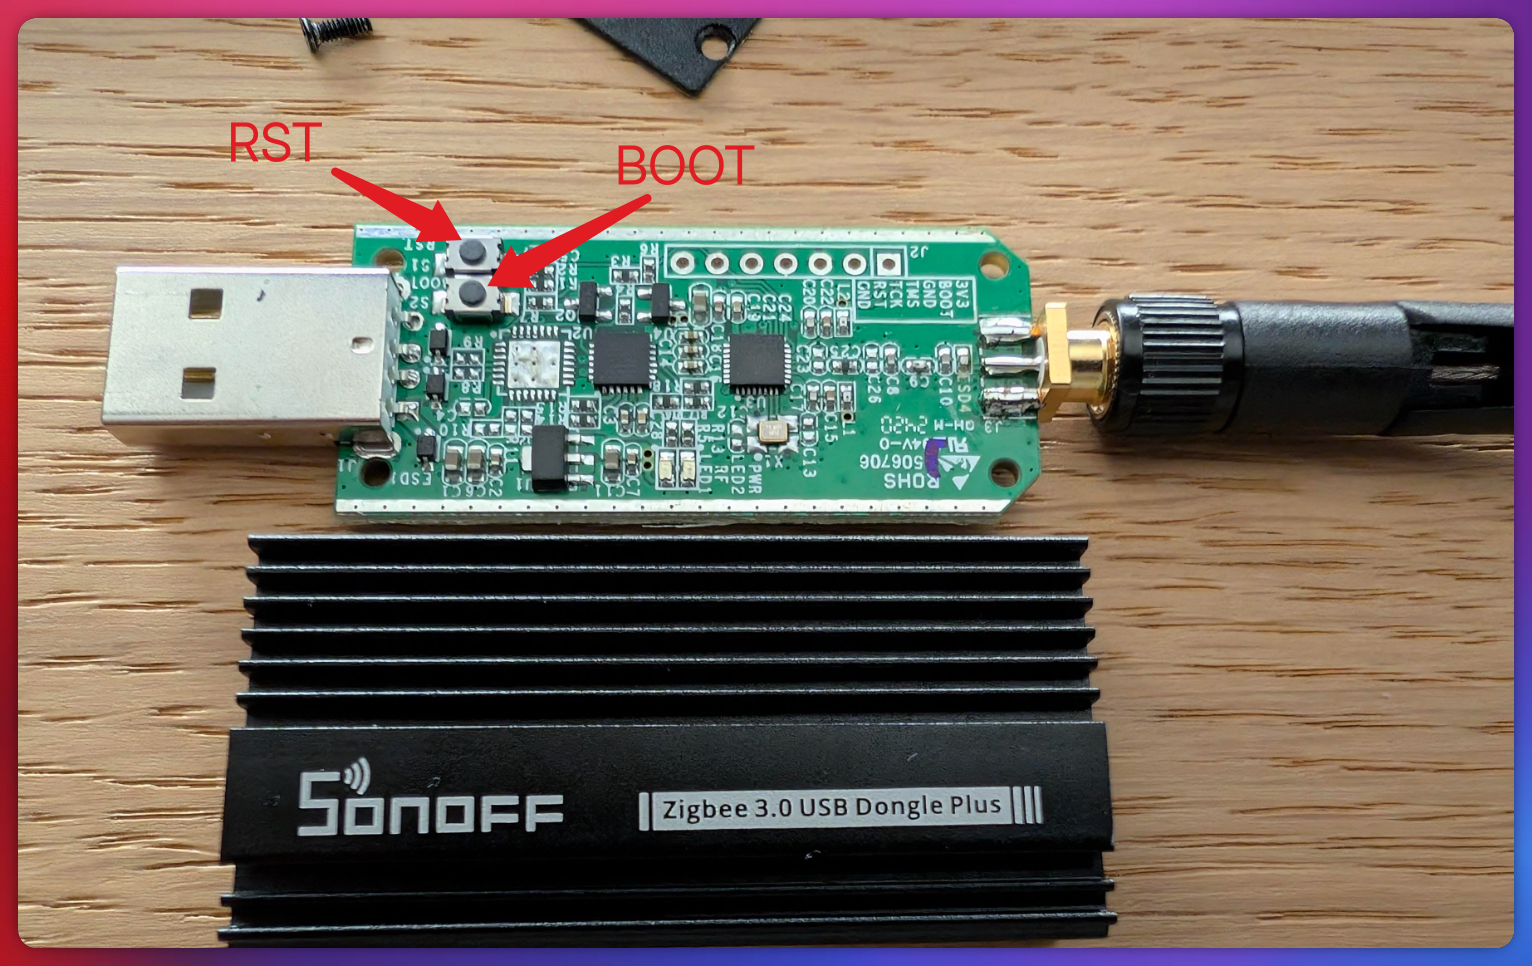
To flash the SONOFF ZBDongle-E dongle and make it compatible with Zigbee2MQTT, I first removed the two small screws to take the board out of the shell:

Then, to communicate with the dongle and transfer files, we use the XMODEM
protocol. We’ll need two packages (on Debian Linux):
sudo apt install putty lrzsz
Your user must also be part of the dialout group:
sudo adduser $USER dialout (may require a logout/login).
Locate the RST and BOOT buttons on the dongle:
Plug your dongle into a USB port and find its device name. In my case, it was /dev/ttyUSB0.
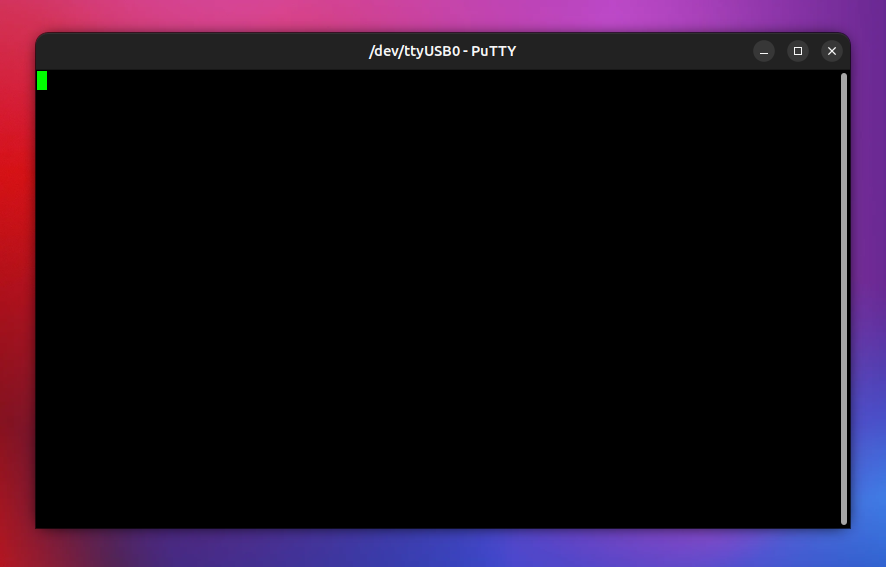
Next, you need to access the dongle’s console via a serial connection using Putty:
putty -serial -sercfg 115200,8,n,1 /dev/ttyUSB0
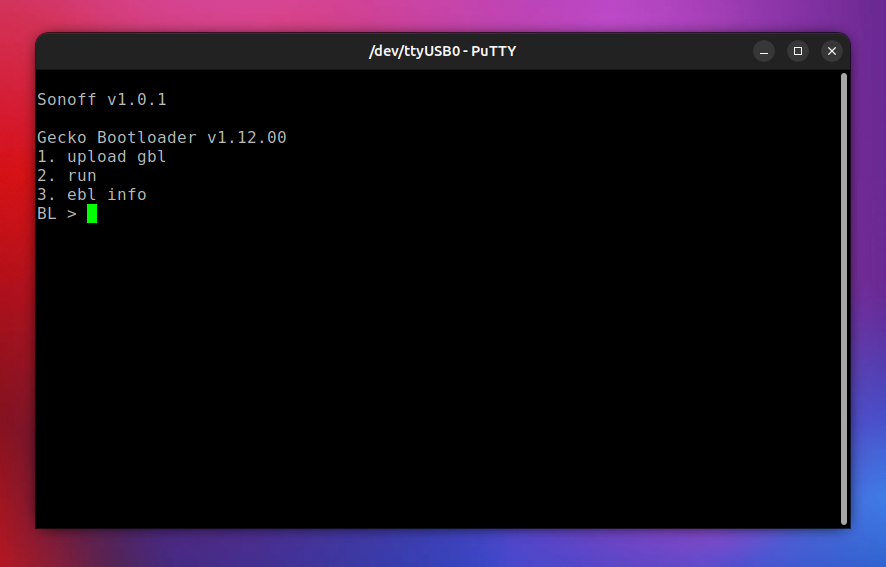
If everything works correctly, Putty opens and displays a blank terminal:
Now, hold the BOOT button, press RST once, then release BOOT. Putty should capture the dongle’s terminal—you’re now connected via serial!
Now that we are connected to the dongle, we must flash the correct firmware. ITEAD Studio, the manufacturer behind SONOFF, provides several firmware versions on GitHub. I tried two firmware files and this is the one that worked for me . I also host it on my website in case it ever disappears from GitHub: here (SHA-256: bbf283917286feaa8a06b99a531cd436c03c2149d6c008ac9586a6b023b8d85f).
It’s now time to use the XMODEM protocol via lrzsz and its sx command:
- Ensure your Putty window is still connected to the dongle’s terminal
- Open a second terminal and run the following command (adapt to your file path and USB device name!!):
|
|
sx writes the firmware to the dongle and reads output back from the dongle.
I forgot to take a screenshot, but in your Putty window, you should first see a “begin upload” message. When you see the final “Serial upload complete”, press “2” in the Putty terminal and your dongle is ready to use!
Some configuration steps on Home Assistant
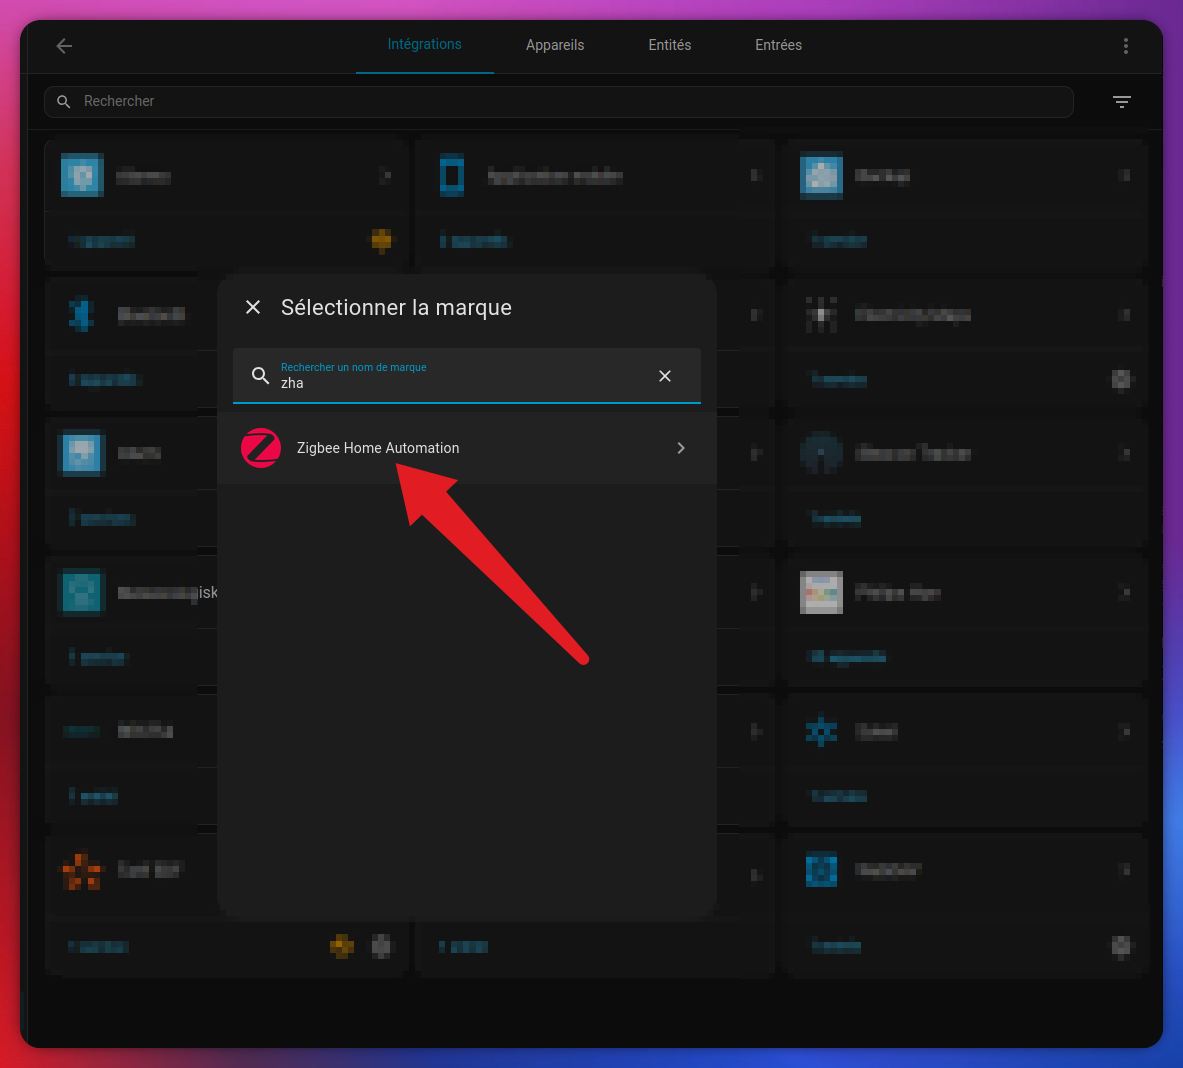
Finally, on the Home Assistant side, it is important to disable the ZHA integration to avoid conflicts.
Then, in the add-ons, install and enable two modules:
- Mosquitto Broker
- Zigbee2MQTT
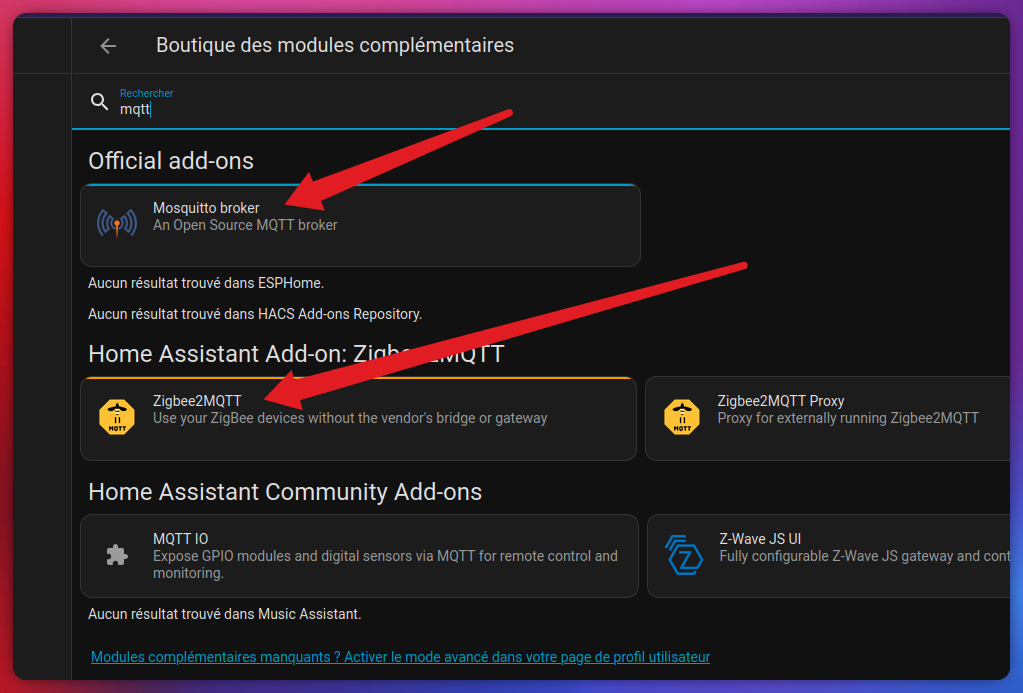
The documentation included within the add-ons (documentation tab) makes setup simple and fast—I strongly recommend reading it.
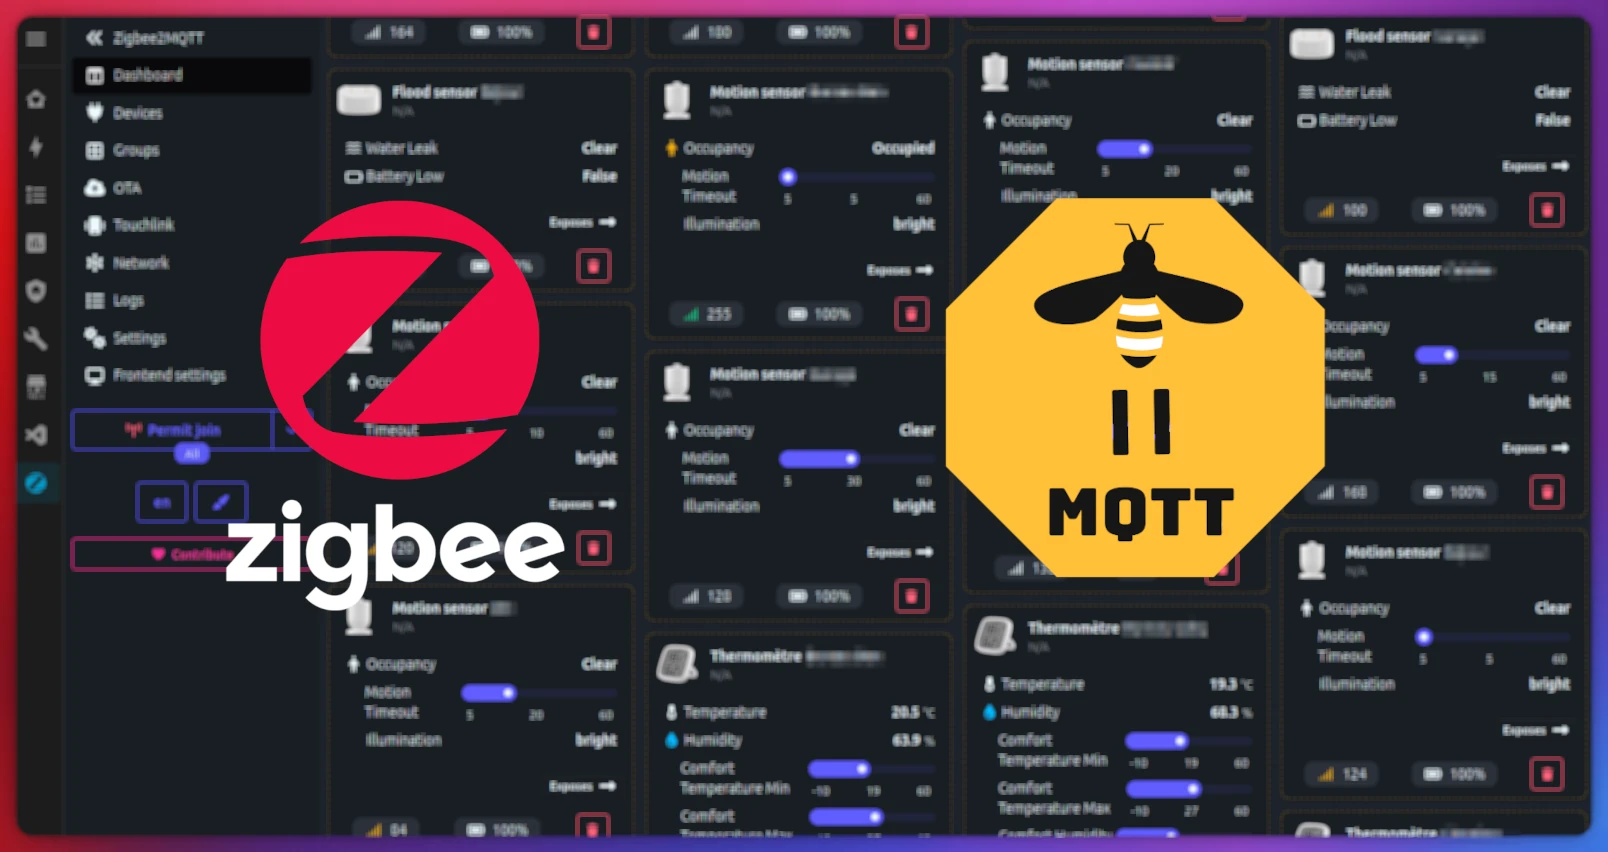
The Zigbee2MQTT add-on
Once enabled, you can pair all your Zigbee devices. You’ll find a complete dashboard showing quick settings, battery levels, signal strength, and more…
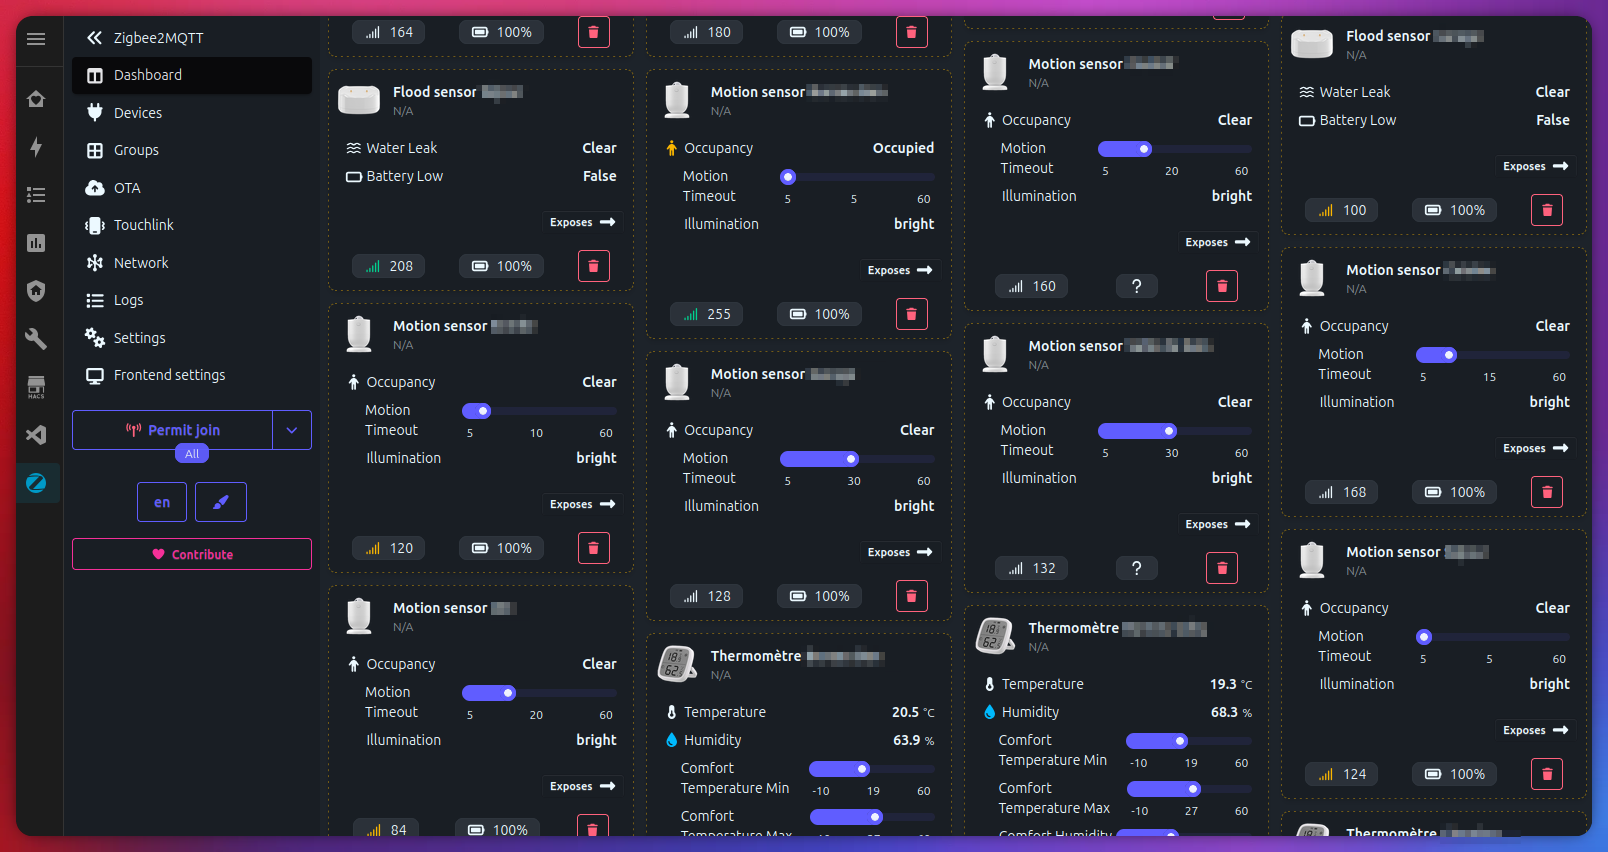
Logs, groups, all device parameters — welcome to the wonderful world of Zigbee2MQTT! Have fun.