Monitor BorgBackup in Home Assistant
Posted on November 16, 2024 • 5 minutes • 914 words • Other languages: Français
Almost a year ago, I had a problem with over-consumption of electricity at home and decided, as any geek would, to buy a connected plug to find out where it was coming from. One thing led to another and I found the source of my problem (which was my fridge, but no-one cares) and I set about developing a web monitoring interface for this plug… And the other two I bought later. This allowed me to get my hands into MQTT , Mosquitto , InfluxDB . It was really interesting but I eventually gave up on this side-project. BorgWarehouse is already taking up a lot of my time and I’ve decided to concentrate on it.
So I turned to the free software Home Assistant and dug out the good old Raspberry Pi 3 Model B+ that had been sleeping there. I knew absolutely nothing about home automation but month after month, I got a taste for it. Getting to grips with Home Assistant isn’t that easy, but the possibilities offered are monstrous if you take a little interest, the eco-system is gigantic and the community is immense. Another advantage: you control everything from home, on your devices and you keep your data.
Once my current sockets, lights and thermometers were connected, I started to create my first dashboard. This is just the beginning of a great adventure with a very useful first dashboard!
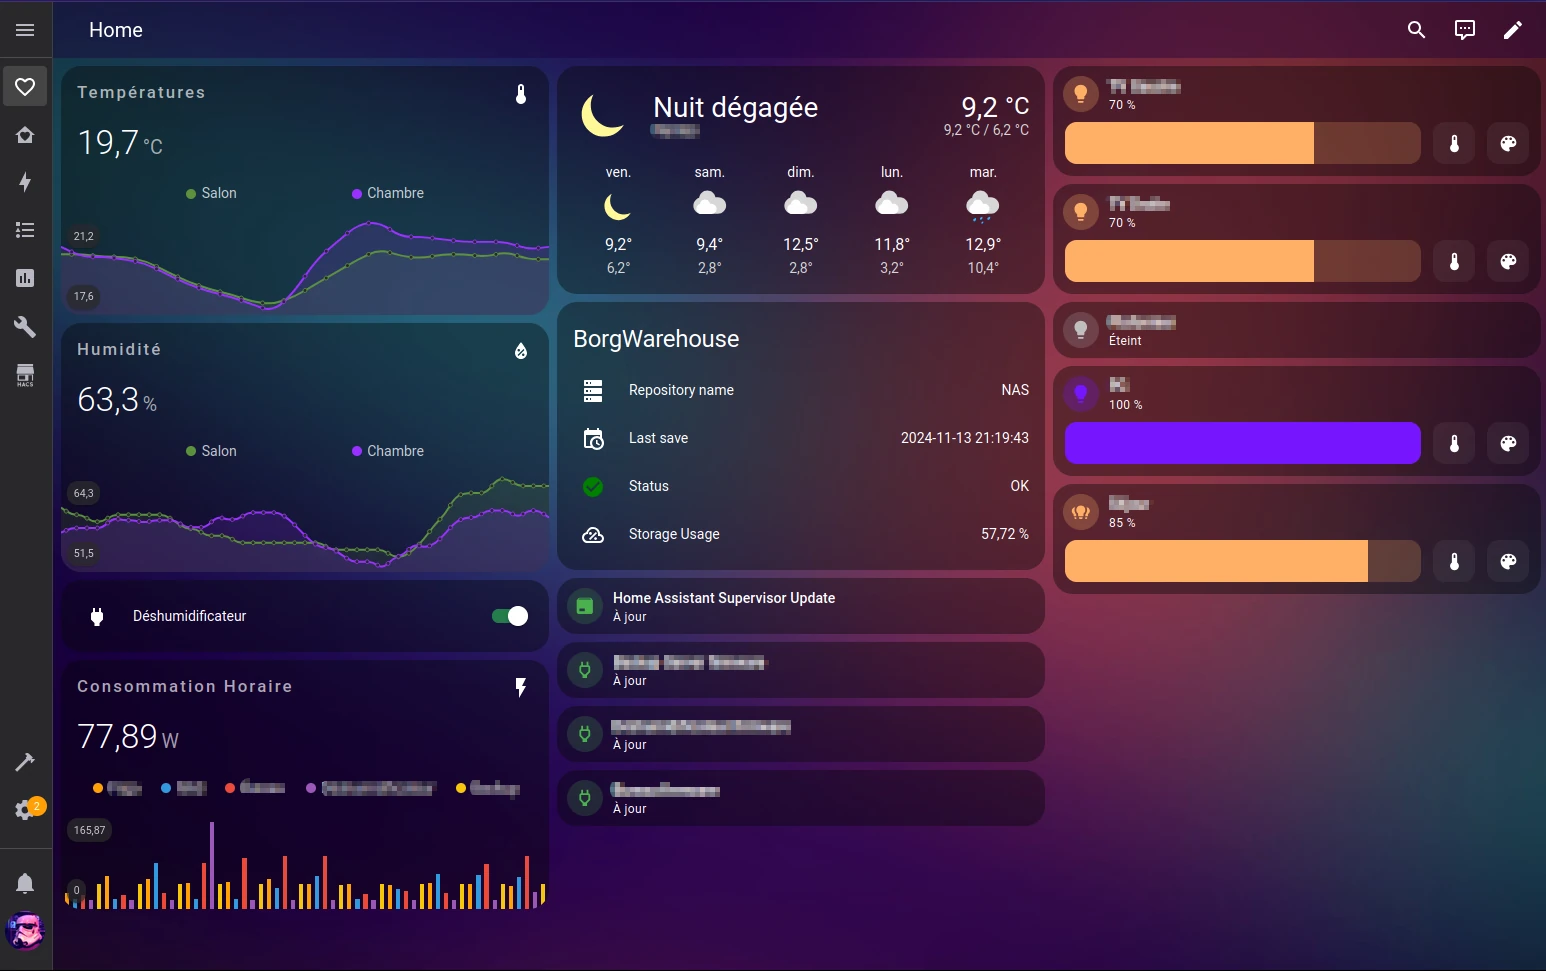
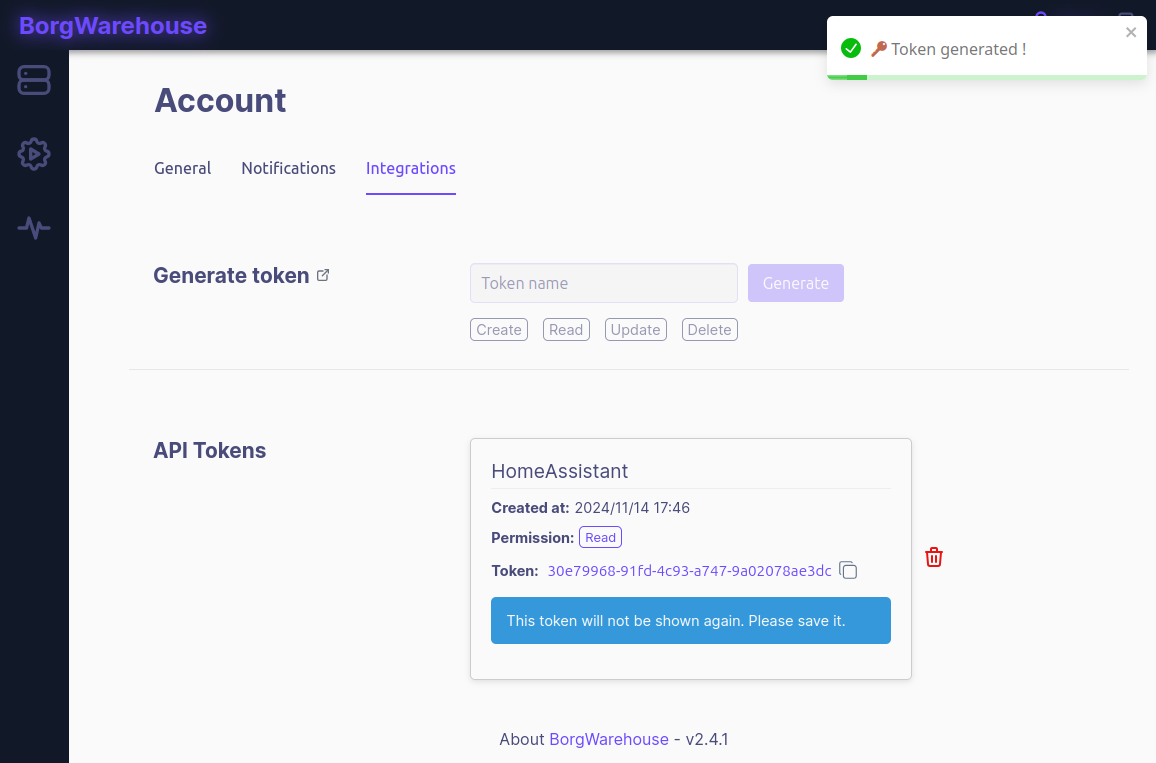
Getting back to business, on 01 September , I released a major release of BorgWarehouse, version 2.4.0 , the main feature of which was control via REST API. You can now generate tokens in your web interface allowing you to perform various actions.
It was a few weeks after this release that I had this idea: Retrieve the status of one of my BorgBackup repositories and display it on my Home Assistant dashboard!
Create your token in BorgWarehouse
I’m not going to rewrite the documentation, you can read it here , if you need to.
Creating the sensor
The first step is to dialog with BorgWarehouse via its RESTful API. To do this, we’ll use the following integration with Home Assistant: RESTful Sensor .
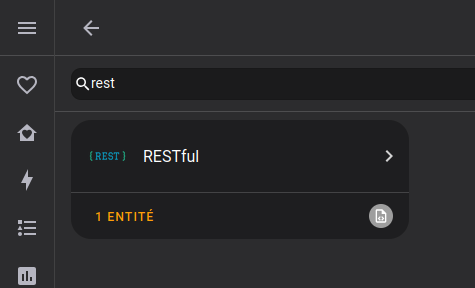
Note that you don’t have to do anything special because this is a native Home Assistant sensor. As soon as you add a configuration containing a sensor with platform: rest, the integration will appear in your list.
Edit the /homeassistant/configuration.yaml file on your Home Assistant, using the File Editor
or via your favourite terminal. And adapt the configuration I provide to your needs 👇
|
|
This is an example of a functional configuration that corresponds to my use case, adapt it to your needs, anything is possible.
To apply the modification, you need to use the “Restart Home Assistant” button. There may be a better solution to apply the config change, but I haven’t found it.
Creating the card on the dashboard
Now that the sensor is built, all that’s left is to have fun! There’s nothing complicated about this card, except that I wanted to change the colour of the status icon depending on the status of the repository. I couldn’t do that natively, or I couldn’t find it. I used the card-mod 3 plugin installed via the HA community store: HACS .
|
|
I’m giving you the .yml file for the card, but you can use the HA GUI to modify it. I’ve predefined the icons and friendly_name for the various entities on the configuration.yml sensor, but it’s still possible to override all these values from the card configuration.
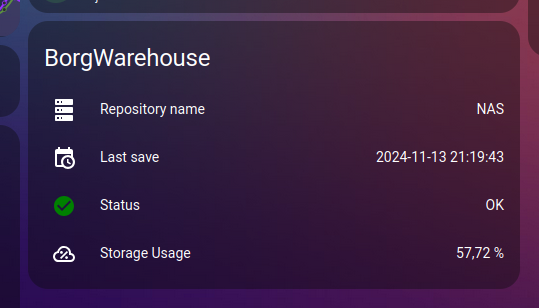
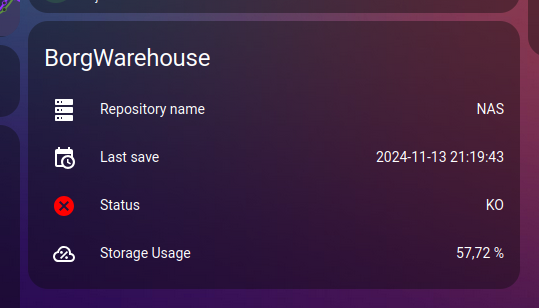
The result is great, and I’m thinking of integrating a little graph of storage evolution under the card soon, it would be very easy to do. The possibilities are endless!
Share your dashboards with me on Mastodon , it will be a pleasure to admire your installations and find new ideas 😊
